
It all started with a simple craving on qa quiet Saturday. I found myself longing for that deep chocolatey richness, the kind that hugs your senses when you take the first bite. But not just any chocolate dessert — I was after moist cupcakes, the kind where the crumb holds just enough weight to feel indulgent but is so tender it feels almost weightless.
And I didn’t want a frosting that felt heavy or overly sweet. I wanted something that whispered sweetness rather than shouted it — a whipped frosting, light and airy, the perfect contrast to the dark richness below.
I’d been down this road before, experimenting with countless cupcake recipes, each promising moistness but delivering dryness or density. It wasn’t until I paid closer attention to how ingredients interact, how mixing matters, and how hot water makes chocolate flavors bloom, that I finally nailed it. This isn’t a fancy recipe with complicated steps; it’s a reliable formula with a few secrets I learned along the way, made for home bakers who want to impress without stress.
Before we go deeper in, i must recommend you try making these protein pop tarts. They are tasty and they are healthy!
Now, every time I make these cupcakes, whether it’s for a gathering or just a quiet evening treat, they disappear before I’ve even thought about storing leftovers. Let me walk you through it.
Ingredients You’ll Need
Here’s a detailed list of ingredients with explanations of why each one matters.
For the Chocolate Cupcakes (makes 12 standard-sized cupcakes)
- 1 cup (120 g) all-purpose flour – provides structure
- 1 cup (200 g) granulated sugar – sweetness and moisture retention
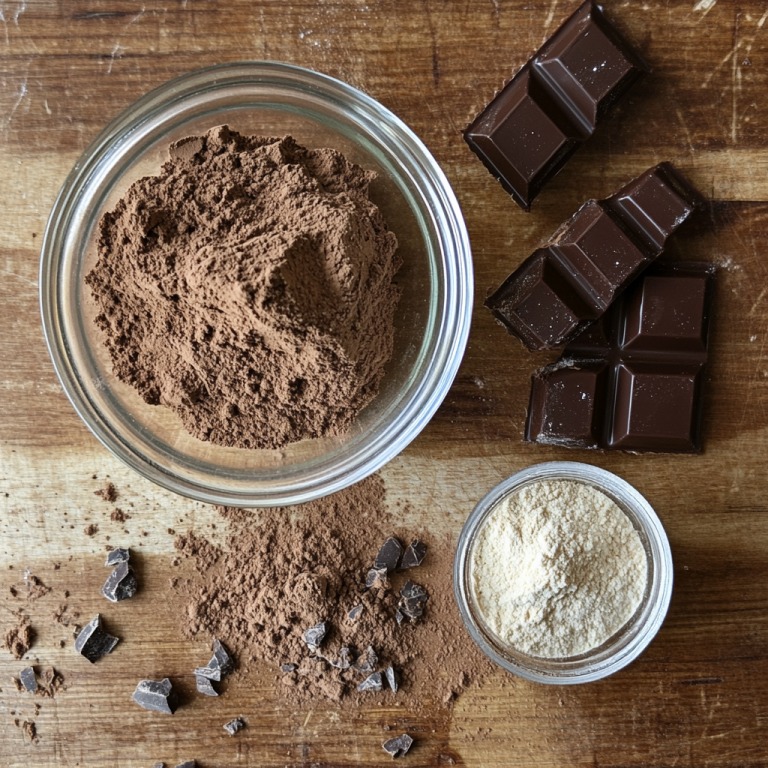
- 1/2 cup (45 g) unsweetened cocoa powder – rich chocolate flavor
- 1 teaspoon baking powder – for lift
- 1/2 teaspoon baking soda – reacts with acid to leaven
- 1/4 teaspoon salt – balances sweetness
- 2 large eggs (room temperature) – binding and structure
- 1/2 cup (120 ml) buttermilk (room temperature) – adds moisture and acidity
- 1/2 cup (120 ml) vegetable oil – keeps cupcakes tender
- 2 teaspoons vanilla extract – enhances flavor
- 1/2 cup (120 ml) hot water or coffee – intensifies cocoa flavor and makes batter loose for a moist crumb
For the Whipped Frosting
- 1 cup (240 ml) heavy whipping cream (cold) – the base for airy frosting
- 3 tablespoons powdered sugar – light sweetness
- 1 teaspoon vanilla extract – flavor
- Optional: 2 oz cream cheese (softened) – adds stability
The Steps
1. Preparing the Scene
Before even pulling out ingredients, I set the stage. I preheat the oven to 350°F (175°C) — a temperature that gives the cupcakes a gentle rise without overbaking them. While the oven hums to life, I line a 12-cup muffin tin with simple paper liners. There’s something satisfying about slipping each liner into its spot, knowing they’ll cradle the batter like tiny baskets of promise.
2. Gathering the Essentials
Next, I reach for the flour, sugar, cocoa powder, baking powder, baking soda, and a pinch of salt. Instead of dumping them straight into the bowl, I sift them together. This step isn’t just about removing lumps — it feels like I’m setting the foundation, ensuring each element is distributed evenly. It’s a quiet, almost meditative moment.
In a separate bowl, I crack two large eggs, add the sugar, and whisk until smooth. I pour in buttermilk, feeling its cool tanginess soften the mixture. The vegetable oil follows, slick and golden, a promise of moist crumb ahead. I add a splash of vanilla, and the aroma instantly makes me feel like I’m in a bakery.
3. Marrying Wet and Dry
Now comes the part where the magic starts. I slowly pour the dry ingredients into the wet, stirring gently.
The batter thickens, pulling together into something silky. I resist the urge to overmix — I’ve learned the hard way that overzealous stirring leads to cupcakes that feel tight and dry. I aim for a texture that’s smooth but still loose enough to fall easily from the spoon.
4. A Secret Weapon: Hot Water or Coffee
Here’s where I whisper my secret to you. I pour in half a cup of hot water, though sometimes I’ll use hot coffee if I’m feeling bold.
The liquid thins the batter, which might seem counterintuitive, but it’s the key to cupcakes that stay moist for days. It also deepens the chocolate flavor, making it richer, rounder.
As I stir, the batter transforms into a glossy, pourable mixture that feels alive with potential.
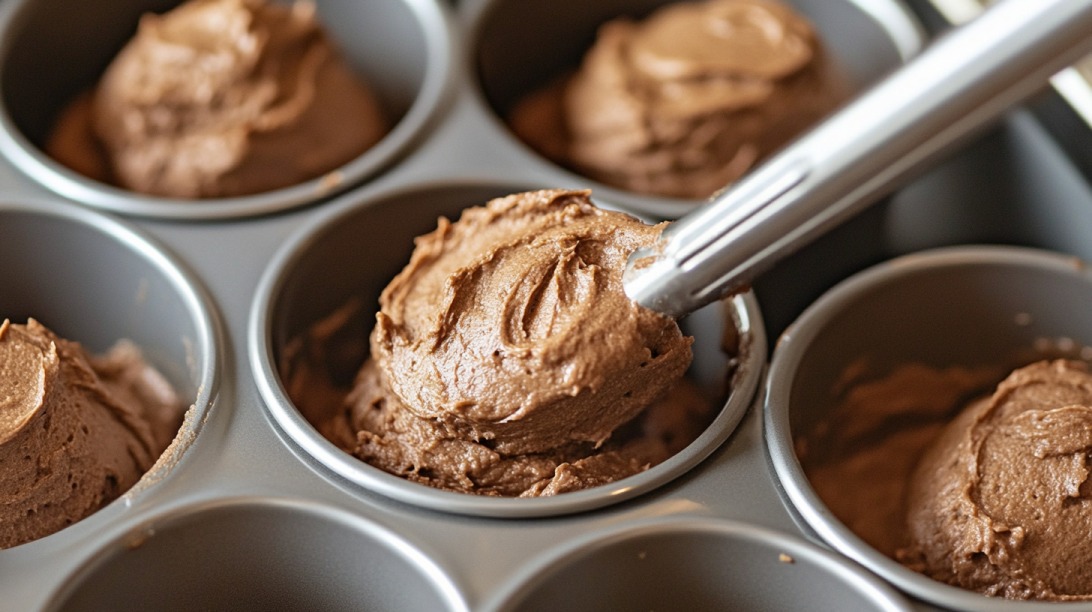
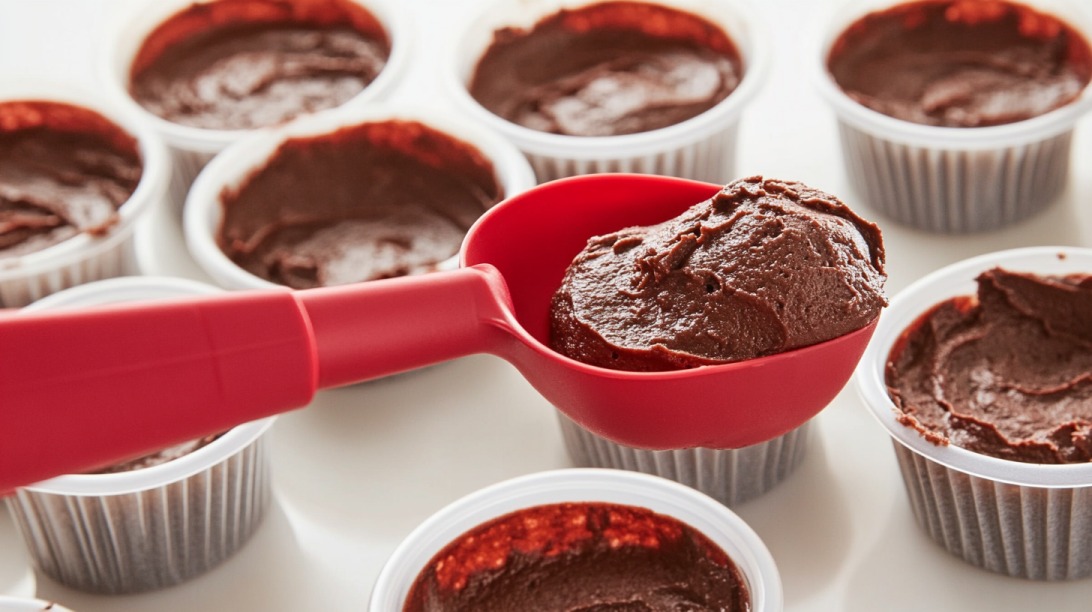
5. Filling the Liners
I use an ice cream scoop to spoon the batter into each liner, filling them about two-thirds full. There’s something comforting about this step, the repetitive scoop-and-fill rhythm, each liner cradling its measure of chocolate goodness. The batter looks thin, but I know that’s exactly right — they’ll puff up perfectly.
Here’s where I usually start thinking ahead. Once the cupcakes are baked and cooled, I want to keep them looking as good as they taste.
Whether I’m bringing them to a party, gifting them, or simply storing them for later, a well-designed package makes a big difference. I like to use custom cupcake packaging that is both sturdy and stylish. It’s a small detail, but it turns homemade treats into a gift-worthy display, while also protecting those delicate swirls of frosting.
6. Baking and Waiting
The cupcakes go into the oven, and for the next 18 to 22 minutes, I let the smell of chocolate fill the kitchen. I check them at the 18-minute mark with a toothpick, looking for moist crumbs. Not wet batter, not bone-dry — just that perfect spot in between.
Once they’re done, I let them sit in the pan for five minutes before moving them to a wire rack. I’ve learned that patience here makes a difference — rushing risks breaking the delicate crumb.
7. Whipping Up the Frosting
While the cupcakes cool completely, I turn to the frosting. I pull a chilled bowl and whisk from the fridge, ready to whip the cold heavy cream into peaks. It’s a quiet moment where I let the mixer do the work, watching as the cream thickens, then billows.
I add powdered sugar and vanilla slowly, tasting as I go to balance the sweetness. If I want the frosting to hold a bit firmer, especially on warmer days, I’ll add a touch of softened cream cheese.
8. Bringing It All Together
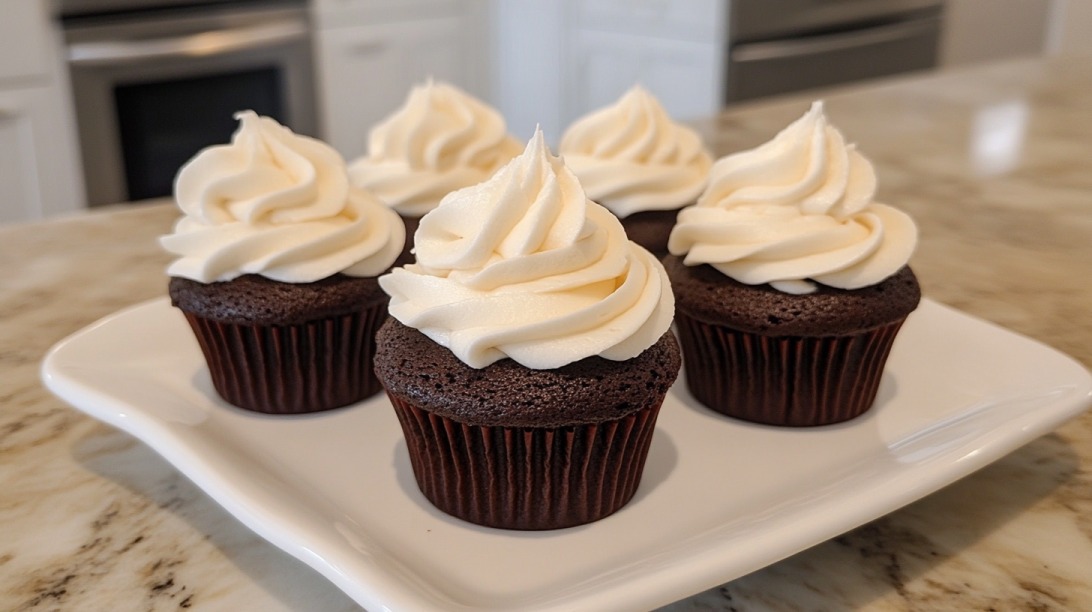
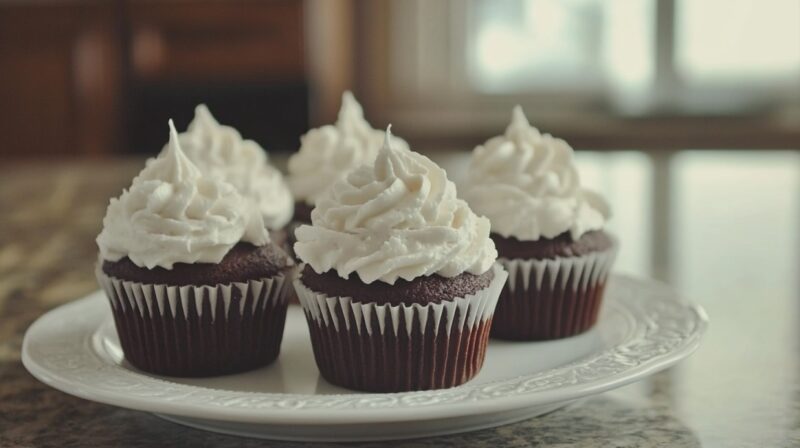
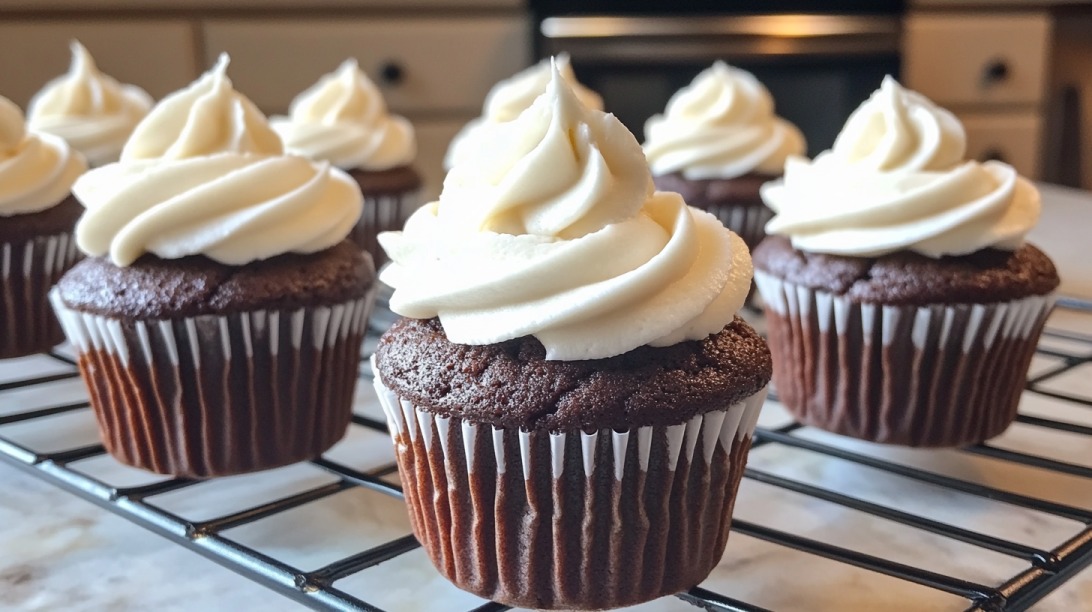
When the cupcakes are cool to the touch, I fill a piping bag with the whipped frosting. There’s something about swirling it on top that feels almost ceremonial, the way it crowns each cupcake.
Sometimes, I’ll sprinkle a few chocolate shavings or a dusting of cocoa powder. Other times, I leave them plain, letting the simplicity speak for itself.
Bottom Line
These chocolate cupcakes are simple to make and deliver great texture and flavor. The whipped frosting adds a balanced finish. Planning or packaging, like using sturdy boxes, keeps them fresh and looking good for storage, transport, or gifting.
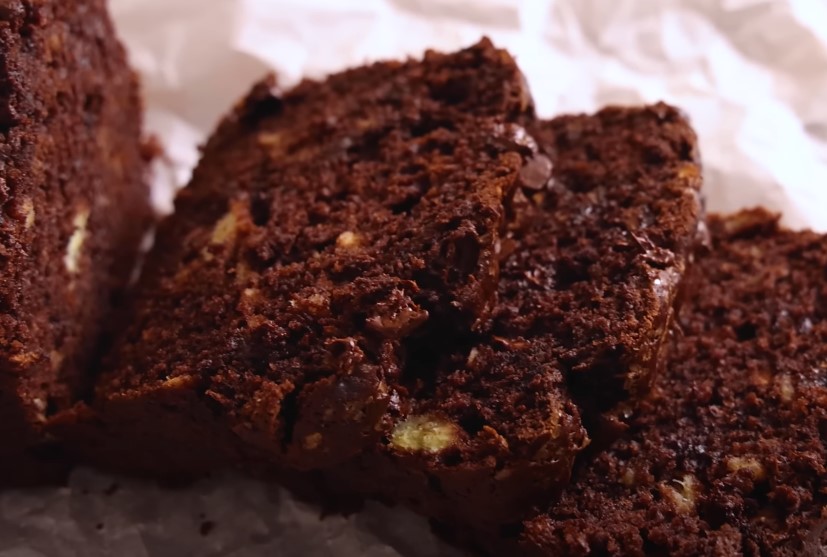
Bonus: See this easy 3-Ingredient recipe for tasty and soft brownies that go well for all occasions!